Virtual interview camera and lighting: the cheap, working setup
Most candidates show up to video interviews with backlit ceilings and laptop webcams pointed up their nose. A 20-minute fix changes how you're perceived.

On this page
A working camera and lighting setup costs nothing to set up and takes 20 minutes the first time. After that, it's automatic. Yet most candidates show up to video interviews with the default laptop-on-desk angle (camera pointed up the nose), a window directly behind them (silhouette), and AirPods that drop syllables every few minutes.
The setup doesn't make a weak candidate strong. It stops removing points from a strong one — which, in the world of video interviews, is most of what setup is for.
Why the setup matters at all
Why the setup actually matters
First-impression biasInterviewers don't consciously grade you on camera quality. But they implicitly evaluate 'is this person prepared and professional?' from the first frame, and a backlit, low-angle, bluetooth-dropping call communicates 'I didn't plan for this' regardless of your actual prep. The setup doesn't make a weak candidate strong; it stops removing points from a strong one. The cost is roughly $0-50 and 20 minutes once. The ROI on that hour is unusually high.
Source · Composite from communication research and Glassdoor candidate-experience reporting
The interviewer forms an impression in the first 10 seconds of the call. That impression is based partly on you and partly on whether the call looks like you planned for it. Backlit silhouette, low-angle camera, audio cutting out — these communicate "I didn't think about this," and the rest of the interview runs uphill from there.
This isn't about being a professional video producer. The bar is low: eye level, light in front, plain background, wired audio. A working setup is invisible. The interviewer doesn't notice it because there's nothing to notice. That's the goal.
The 20-minute setup
The 20-minute setup, in order
Six fixes- 01Raise the camera to eye level
Stack of books, laptop stand, monitor riser — anything. The default laptop-on-desk angle points the camera at your chin and up. Eye-level reads as professional; up-the-nose reads as a casual call.
- 02Put light in front, not behind
A window, a ring light, or just a desk lamp angled at your face. Backlight (window behind you) turns you into a silhouette. The fix is free if you flip your laptop 180 degrees relative to the window.
- 03Frame: head and shoulders, not torso
Top of your head should be near the top of the frame. Eyes about a third down. Don't sit so far back that you're a small figure in a large room; don't sit so close that your face fills the screen.
- 04Check the background
A plain wall, a tidy bookshelf, or a clean room corner. Skip the virtual backgrounds — they glitch around your hair and ears, which is more distracting than a real wall.
- 05Wired headphones or wired earbuds
Bluetooth occasionally drops syllables; AirPods can cut out for 200ms at a time. Wired is reliable. If you must use Bluetooth, test the call beforehand.
- 06Test the full setup once before the day
Open Zoom or whatever the platform is. Look at the preview. Record 30 seconds of yourself talking. Watch it back. Adjust.
Six fixes, in priority order:
Raise the camera to eye level. This is the highest-leverage fix and the most-skipped. The default laptop angle points the camera up your nose and gives the interviewer a flattering view of your ceiling. Stack books under the laptop until the camera lens is at eye level. A 1-inch raise per book; usually 3-5 books gets you there.
Put light in front, not behind. A window in front of you is free and works well. A desk lamp angled at your face works. A ring light works. What doesn't work: a window behind you, which turns you into a silhouette. The fix is sometimes as simple as rotating your desk 180 degrees relative to the window.
Frame: head and shoulders. Top of head near the top of frame; eyes about a third down. Don't be a small figure in a large room (reads as distant) or so close that your face fills the screen (reads as intense in a strange way).
Check the background. Plain wall, tidy shelf, clean corner. Virtual backgrounds glitch around your hair and ears; that motion is more distracting than any real background. If you have to use a virtual background (genuinely cluttered space), pick a static neutral one and don't move quickly during the call.
Wired audio. Bluetooth occasionally drops syllables. AirPods cut out for 200ms intervals that the listener perceives as you "trailing off." Wired earbuds with a built-in mic are reliable and cost $10. Built-in laptop mics are passable; built-in laptop mics with a fan running aren't.
Test the full setup once. Open the meeting platform. Look at the preview. Record 30 seconds of yourself talking. Watch it back. Most of the issues become obvious in 30 seconds of self-tape.
What "good" vs. "not yet" looks like
What 'good' vs. 'not yet' looks like
Side by side- Camera at eye level
- Soft light from in front, slightly elevated
- Plain or neutral background
- Wired audio; mic close to mouth
- Neutral mid-grey, navy, or muted color clothing
- Laptop camera angled up your nose
- Bright window directly behind you
- Bedroom background with unmade bed
- Bluetooth audio with occasional dropouts
- Bright patterns or thin stripes (moiré on camera)
A working setup has the camera at eye level, soft light from in front, a neutral background, wired audio, and clothing in mid-grey, navy, or muted colors. The interviewer doesn't notice any of it.
A setup that distracts has the camera angled up, a bright window behind you, a bedroom background with the unmade bed visible, Bluetooth audio with intermittent dropouts, and a bright-patterned or thin-stripe shirt that produces moiré shimmering on the camera. The interviewer notices, often before they notice what you're saying.
For the broader phone-screen prep that often precedes the video interview, see phone-screen-what-recruiters-evaluate.
Specific gear that works
If you want to spend money, the ROI is heavily front-loaded:
- $0: Reposition the desk relative to the window; stack books under laptop; use wired earbuds you already own.
- $15-25: A small ring light clamped to your monitor. Daylight-temperature setting. This is the single most cost-effective upgrade.
- $40-60: A USB webcam at 1080p. Built-in laptop webcams are getting better but still lose to a decent USB cam. Logitech C920 is the legacy default.
- $60-100: A USB microphone if audio quality matters for the role (sales, comms, leadership). For most engineering and product roles, wired earbuds are sufficient.
Anything beyond $100 is diminishing returns until you're producing video content full-time. The interview won't be made or lost by a $300 webcam vs. a $60 one.
Clothing and on-camera color
Two specific notes on clothing:
- Avoid bright pure white. Cameras struggle with the white balance. Off-white or cream reads better.
- Avoid thin stripes and tight patterns. They produce moiré effects (shimmering) on most cameras.
Beyond that, dress for the role's industry. Tech is comfortable with collared shirts or smart casual. Finance and consulting often expect more formality. Match the industry, not the universal "interview attire" template.
What to do if the platform is unfamiliar
A specific failure mode: showing up to a Zoom interview when the company actually uses Google Meet, BlueJeans, or a custom platform. Always check the calendar invite the day before and install/test the relevant app. The 30 seconds of joining-late awkwardness while installing software is itself a deduction.
For the broader question of pre-interview prep timing, see mock-interview-prep-timeline.
What to do during a technical glitch
Things will occasionally go wrong. The Wi-Fi drops, the camera freezes, the audio cuts out. The recovery matters more than the prevention:
- Acknowledge briefly: "Sorry, I lost you for a moment — can you repeat the question?"
- Don't apologize three times. Once is professional; three reads as flustered.
- Have a phone backup. If the laptop call fails entirely, switching to phone is faster than rebooting.
What this isn't
A few clarifications:
- It's not a substitute for prep. A great setup with weak answers is still a weak interview. The setup is the floor, not the ceiling.
- It's not about looking great. It's about looking prepared. A neutral, well-lit frame beats a glamorous one.
- It's not the same as a webinar setup. Interviews are conversational; over-produced setups (DSLR, studio lighting, sponsor backdrop) read as oddly performative.
The short version: eye level, light in front, plain background, wired audio. Twenty minutes once. The setup isn't what wins you the job — it stops you from losing the first impression in the first ten seconds.
More to read
 6 min read
'Tell me about a conflict with a coworker': what the question is really testing
Interviewers ask about coworker conflict to test how you read other people and handle disagreement — not to confirm that you've never had one. Here's the structure that works.
interviewsbehavioral 5 min read
AI mock interview tools: which actually help and which are theater
AI mock-interview platforms promise practice at scale. A few are useful. Most are distraction. Here's a comparison of what actually helps.
interviewsai-tools 5 min read
Coding interview prep without burning out: how to not over-prep
Most coding-interview prep advice points to 500 LeetCode problems. The realistic floor is much lower — here's what actually moves your pass rate.
interviewscoding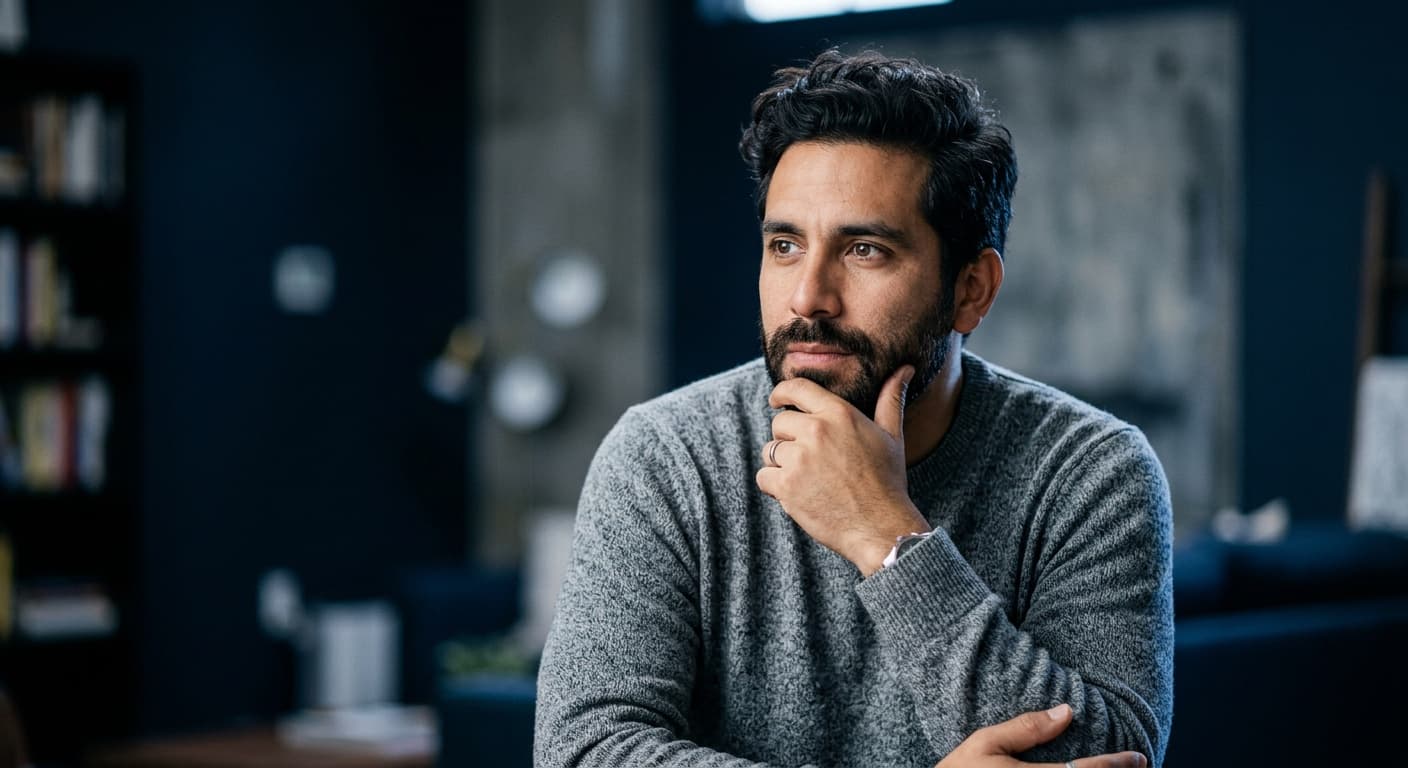 5 min read
'Tell me about a failure': what to pick and how to tell it
The failure question rewards specific stories and punishes humble-brags. Here's how to pick the right failure and structure the answer.
interviewsbehavioral